How to Inject Peptides Subcutaneously
A plain-language, step-by-step guide to your first subcutaneous peptide injection. Supplies, site selection, technique, pain tips, and safe sharps disposal.
Needle Gauge
Angle
Injection Sites
After Injection
Your first self-injection can feel intimidating. That's normal, and there is no way to shortcut the nerves entirely.
But subcutaneous (subQ) injections are one of the simplest medical procedures you can learn at home. Millions of people do them every day for insulin, blood thinners, and peptides. After two or three injections, most people say it becomes completely routine.
This guide walks through everything from gathering supplies to disposing of sharps safely. It is not a substitute for medical advice. Always consult a qualified healthcare provider before beginning any injection-based peptide regimen.
What Does "Subcutaneous" Actually Mean?
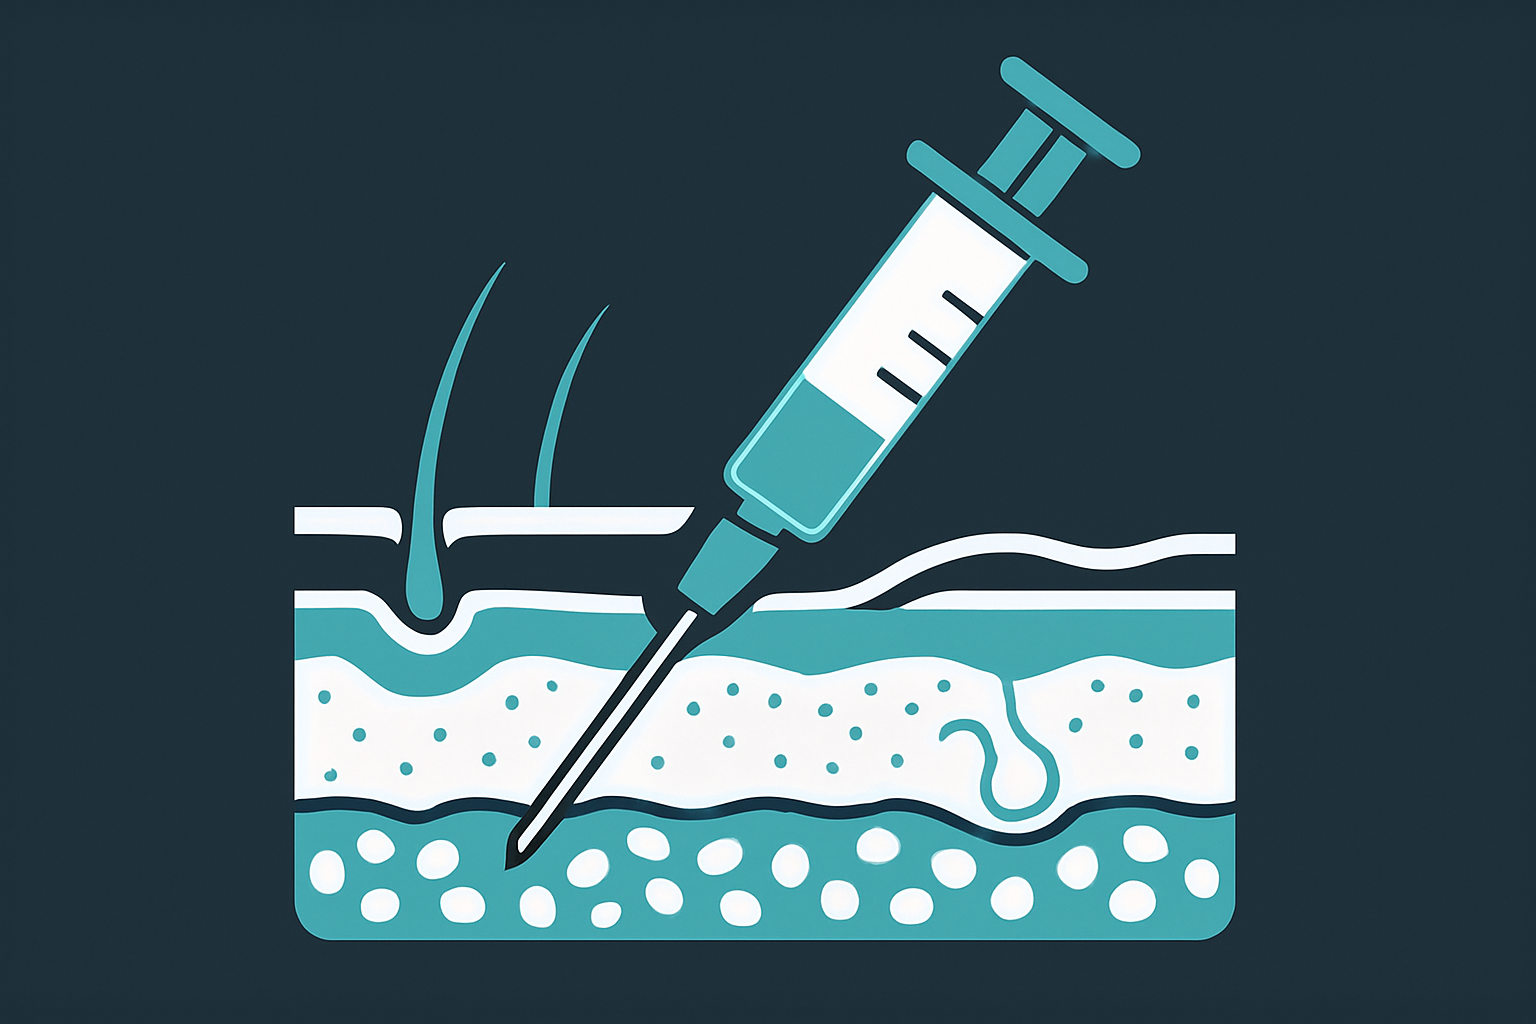
Subcutaneous means "under the skin." You are depositing the solution into the fatty tissue layer between your skin and the muscle beneath it. This layer is rich in small blood vessels, so the peptide absorbs gradually into your bloodstream.
It's different from intramuscular (IM) injections, which go deeper into muscle, and intravenous (IV) injections, which go directly into a vein. SubQ injections are the shallowest of the three, which is exactly why they're the easiest to perform at home.
Why SubQ Works for Peptides
Most peptides are administered subcutaneously because the absorption rate from fatty tissue matches their pharmacokinetic profiles. A 2015 study confirmed that subcutaneous delivery provides reliable bioavailability for a wide range of peptide compounds (PubMed: 26093058).
SubQ vs. IM vs. IV: Quick Comparison
Understanding the differences between injection types helps you appreciate why subcutaneous is the go-to route for most peptides at home.
| Feature | Subcutaneous (SubQ) | Intramuscular (IM) | Intravenous (IV) |
|---|---|---|---|
| Depth | 4-8 mm (fat layer) | 25-38 mm (muscle) | Into vein |
| Needle gauge | 29-31G (thin) | 22-25G (thicker) | 18-22G |
| Pain level | Minimal pinch | Moderate | Variable |
| Absorption speed | Gradual (minutes to hours) | Moderate (minutes) | Immediate |
| Home-friendly | Yes | Sometimes | No (clinical setting) |
| Training needed | Minimal | Some | Extensive |
For the vast majority of research peptides, subcutaneous delivery is the standard. It matches the pharmacokinetic profile most peptides were designed around, and the technique is straightforward enough to learn from a single demonstration.
Choosing the Right Syringe
The syringe you pick affects comfort, accuracy, and waste. This is one area where small details matter.
Gauge (Needle Thickness)
29G: Slightly thicker, easier to draw viscous solutions. 30G: The sweet spot for most users. 31G: Thinnest, least painful, but slower to draw.
Volume (Barrel Size)
0.3 mL: Best precision for small doses under 30 units. 0.5 mL: Good all-around. 1 mL: Needed for larger volumes but harder to read small doses accurately.
If your typical dose is under 20 units (0.2 mL), buy 0.3 mL or 0.5 mL insulin syringes. The graduation marks are more precise than on 1 mL syringes, and dosing accuracy matters more than most people think.
Needle length for subQ is typically 6 mm (1/4 inch) or 8 mm (5/16 inch). Both work well. If you have very little body fat at your injection sites, the shorter 6 mm needle reduces any risk of accidentally hitting muscle.
Supplies You'll Need
Gather everything before you start. Hunting for supplies mid-injection is a recipe for contamination or frustration.
| Item | Purpose | Priority |
|---|---|---|
| Insulin syringes (29-31 gauge, 0.5 or 1 mL) | Standard for subQ peptide injections | Essential |
| Alcohol swabs (70% isopropyl) | Cleaning injection site and vial stopper | Essential |
| Reconstituted peptide vial | Your prepared peptide (storage guide) | Essential |
| Bacteriostatic water | For reconstitution if needed (0.9% benzyl alcohol) | Essential |
| Sharps container | Safe needle disposal | Essential |
| Clean, flat surface | Laying out supplies | Essential |
| Small ice pack | Numbing the site beforehand | Optional |
| Cotton balls or gauze pads | Post-injection pressure | Optional |
| Bandages | Rarely needed, but reassuring for first-timers | Optional |
| Notebook or app | Tracking injection sites and doses | Optional |
Choosing Your Injection Site
You have three primary options. Each works well, and the "best" site mostly comes down to personal preference.
Abdomen (Belly)
Most popular site. Large surface area for rotation, easy to see what you're doing. Stay at least two inches from the navel. Can be more sensitive on very lean midsections.
Outer Thigh
Front or outer aspect, middle third between hip and knee. Good tissue depth, and you can sit while injecting. Avoid the inner thigh. Some people find slightly more nerve sensitivity here.
Upper Arm
Fatty area on the back of the arm, halfway between shoulder and elbow. Good absorption and relatively painless. Hard to reach on your own, so this one usually requires a partner.
A study in Diabetes Technology & Therapeutics found no clinically significant differences in absorption rates between abdominal and thigh injection sites (PubMed: 19459763). Pick the site that feels most comfortable.
Step-by-Step Injection Process
Read through this section once completely before you begin. Familiarity with the full process reduces hesitation and mistakes.
Wash Your Hands
Soap and warm water for at least 20 seconds. Dry with a clean towel. This is non-negotiable. Contamination from unwashed hands is the most preventable cause of injection-site infections.
Prepare Your Workspace
Lay out supplies on a clean surface. Open alcohol swab packets but leave the swabs inside. Remove the cap from your syringe but don't touch the needle.
Clean the Vial Stopper
Wipe the rubber stopper on your peptide vial with an alcohol swab using a firm, circular motion. Let it air dry for about 10 seconds. Don't blow on it.
Draw the Peptide Into the Syringe
Pull back the plunger to the mark matching your desired dose, filling the barrel with air. Insert the needle through the center of the rubber stopper.
Push the plunger to inject air into the vial (this equalizes pressure). Turn the vial upside down so the needle tip is submerged.
Slowly pull the plunger to your desired dose marking. Check for air bubbles. Tap the barrel to move them up, then push the plunger slightly to expel them.
Confirm your dose, then withdraw the needle from the vial.
Clean the Injection Site
Swab your chosen site with a fresh alcohol pad using a circular motion, working outward. Let it air dry completely. Injecting through wet alcohol stings, so just wait the extra 10 seconds.
Pinch and Inject
With your non-dominant hand, pinch up a fold of skin about one to two inches wide. Hold the syringe like a dart at 45 to 90 degrees to the skin. Use 90 degrees for most body compositions, 45 degrees if you're very lean.
Insert the needle in one smooth, steady motion. Release the skin pinch. Push the plunger down slowly over 5 to 10 seconds.
Wait 5 to 10 seconds before withdrawing. This ensures the full dose is deposited. Pull the needle out at the same angle you inserted it.
Post-Injection
Apply gentle pressure with a cotton ball for a few seconds. Don't rub the area. A tiny drop of blood is totally normal. A small welt or bump is just the fluid sitting in tissue before it absorbs.
Dispose of the Syringe
Immediately place the used syringe into your sharps container. Do not recap the needle. Recapping is the number one cause of accidental needlesticks at home.
Injection Site Rotation
Rotating sites matters more than most first-timers realize. Repeated injections in the same spot can cause lipohypertrophy, which is a buildup of fatty lumps under the skin. These lumps alter absorption and lead to inconsistent dosing.
Research in Diabetes Care showed that patients who rotated sites had fewer complications and more consistent drug absorption (PubMed: 26740633).
Once Daily
Rotate between four abdominal quadrants (upper left, upper right, lower left, lower right), moving clockwise through each day.
Twice Daily
Add thighs to the rotation. Morning in abdomen, evening in thigh, switching sides each day.
Clock Method
Imagine a clock face around your navel. Each injection moves to the next "hour" position. Simple and systematic.
Keep a simple log. Even just jotting "left belly" or "right thigh" on your phone is enough to prevent hitting the same spot twice in a row.
Pain Minimization Tips
SubQ injections with insulin needles are not very painful. Most people describe a brief pinch that lasts about one second. But if you're needle-sensitive, these strategies help considerably.
| Technique | Why It Works | Impact |
|---|---|---|
| Fresh needle every time | Needles dull after a single use, increasing tissue drag | High |
| Let alcohol dry completely | Wet alcohol causes stinging on contact | High |
| Ice the site for 30-60 seconds | Cold numbs local nerve endings | High |
| Inject at room temperature | Cold solutions cause more discomfort | Medium |
| Relax the muscle underneath | Tension increases pain perception | Medium |
| Go at a steady speed | Hesitating mid-insertion makes it worse | Medium |
| Breathe out as you insert | Activates parasympathetic relaxation | Medium |
Timing and Frequency
Different peptides have different timing requirements. Some are taken once daily, others twice. Some work best on an empty stomach, others don't care. Always follow the specific protocol for your peptide.
When to Inject
Growth hormone secretagogues (like Ipamorelin or CJC-1295): Typically taken on an empty stomach, 30 minutes before eating or 2 hours after. Many users prefer a pre-bedtime injection to align with natural GH pulses.
Healing peptides (like BPC-157 or TB-500): Often taken twice daily, morning and evening. Can be taken regardless of meals. Injecting near the injury site may be more effective, though systemic effects occur either way.
Consistency matters more than perfection. The same time each day, give or take an hour, is better than obsessing over exact-to-the-minute scheduling.
Building Your Injection Routine
The first week is the hardest. After that, it becomes as automatic as brushing your teeth. Here's what a sustainable routine looks like.
It Feels Normal
Per Injection
Rotation Plan
Contact Time
Set a daily alarm on your phone. Keep your supplies in one designated spot. Log each injection with the site you used. After one week, you won't even think about it.
If anxiety is still high after several attempts, consider asking your prescribing provider or a local nurse to walk you through your first injection in person. One supervised session is often all it takes to build lasting confidence.
Proper Sharps Disposal
Used syringes are biohazardous sharps. Throwing them in regular trash is illegal in many states and dangerous for sanitation workers.
Commercial Containers
Available at any pharmacy. Many pharmacies accept them back when full for proper disposal.
Mail-Back Programs
Companies like Stericycle sell prepaid disposal kits. Fill the container, drop it in the mail.
Community Drop-Off
Hospitals, fire stations, and health departments often accept sharps. See safeneedledisposal.org.
DIY Containers
Thick plastic container with a screw cap, labeled "SHARPS - DO NOT RECYCLE." Not ideal, but better than loose needles in the trash.
Never put loose needles in the trash, recycling, or toilet. This puts sanitation workers and family members at risk of accidental needlestick injuries.
Common Mistakes to Avoid
| Mistake | Why It Matters | Severity |
|---|---|---|
| Reusing syringes | Contamination risk is not worth the savings | Serious |
| Injecting through clothing | Infection risk from bacteria on fabric | Serious |
| Recapping the needle | Number one cause of accidental needlesticks | Serious |
| Injecting too shallow | Fluid pooling on skin means you went intradermal | Moderate |
| Injecting too deep | Lean people at 90 degrees may hit muscle. Use short needles (6-8 mm) | Moderate |
| Skipping the air bubble step | Not injecting air into the vial first makes drawing much harder | Moderate |
| Not checking for air in syringe | Bubbles displace volume, giving you a smaller dose | Moderate |
| Rushing the injection | Too fast causes more soreness and a larger welt | Moderate |
When to Seek Medical Help
Most injection-site reactions are minor and resolve on their own within a day. But some signs warrant a call to your healthcare provider.
Call 911 Immediately
Difficulty breathing, swelling of the tongue or throat, or feeling faint after an injection. These are signs of anaphylaxis and require immediate emergency care.
Non-Emergency Warning Signs
Signs of infection: Increasing redness, warmth, swelling, or pus over 24 to 48 hours at the injection site.
Persistent lumps: Hard lumps that don't resolve within a week may indicate tissue reaction.
Fever: Post-injection fever you can't attribute to another cause.
Unusual bleeding: Bleeding that doesn't stop with gentle pressure within a few minutes.
Frequently Asked Questions
How deep does the needle go?
Can I inject with the same syringe I used to draw from the vial?
What if I see blood when I pull the needle out?
What if I see a bump or welt after injecting?
Do I need to aspirate before injecting?
Can I use the same injection site every day?
What gauge needle is best?
Is it normal to feel nervous?
How long after reconstitution should I use my peptide?
This article is for educational purposes only and does not constitute medical advice. Subcutaneous injection technique should ideally be demonstrated by a qualified healthcare provider before self-administration. Always consult with a licensed medical professional before beginning any peptide regimen. Never share needles or syringes with another person.
For compound profiles and sourcing info, visit PeptideArc.